

Back up that is based on Host
In a digital era dominated by vast amounts of data, protecting that data has become paramount. Enter host-based backup, an innovative solution at the forefront of data recovery. But what exactly is it? Let’s dive in.
Deciphering Host-Based Backup
Fundamentally host-based backup, often termed Agentless Backup and Agent-based Backup, is a modern approach to ensuring data integrity and security. By definition, it revolves around a server, the host, that is paramount for backup processes.
The Agent Paradigm
Before delving deeper, it’s crucial to clarify the term “agent”. In the IT realm, agents are small applications stationed on the host server, which execute particular functions methodically.
Agentless vs. Agent-based Backup: What’s the Buzz About?
Some vendors might claim their backup solution is agentless. However, they might incorporate an agent initially and eliminate it after completing the backup process. Although this might seem agentless, it technically isn’t.
Agentless Backup
A backup process that does not involve agents. It’s straightforward, with no additional software or processes interfering during the backup.
Agent-based Backup
This approach utilizes one or multiple agents, or applications, to backup data. A significant step for this backup type requires the system to reboot post-installation because of the snapshot driver’s location in the operating system kernel.
Choosing Between The Two
When deciding between agentless and agent-based backups, it’s crucial to understand the pros and cons of each.
Agentless Backup
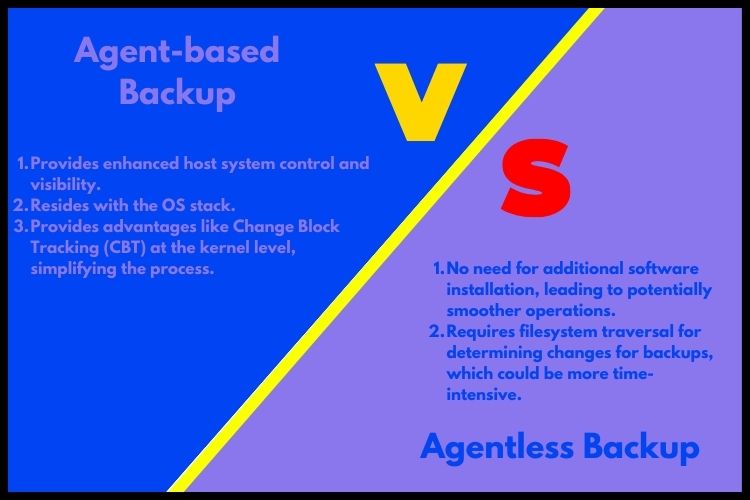
Provides enhanced host system control and visibility. Resides with the OS stack. Provides advantages like Change Block Tracking (CBT) at the kernel level, simplifying the process.
Agent-based Backup
No need for additional software installation, leading to potentially smoother operations. Requires file system traversal for determining changes for backups, which could be more time-intensive.
Deep Dive into the Backup Mechanism
Every scheduled backup employs Delta Encoding deltas, which are sent to a backup archive. This action efficiently creates a virtual Disk Image. With Continuous Data Protection, you can restore these disk images to another disk, replicating the original disk’s structure and contents seamlessly. Moreover, individual files within a disk image can be reinstated either to their original location or another system.
R1 Soft Server Backup Manager
The R1 Soft Server Backup Manager is a near-continuous backup software compatible with both Windows and Linux systems. This tool allows for user-scheduled near-continuous disk-based online backups for multiple servers, ensuring data remains protected and easily recoverable.
Conclusion
Host-based backup is not just another tech buzzword – it’s a tangible solution driving the future of data recovery. In an age where data loss can spell disaster for businesses, adopting efficient and effective backup solutions is no longer optional. Whether you lean towards agent-based or agentless backup, the key is to understand your needs and choose accordingly. With industry leaders like Ideastack providing top-notch backup solutions, the data landscape looks more secure than ever.
Frequently Asked Questions
Q1. What is the primary difference between host-based backups and traditional backups?
Host-based backups focus specifically on data stored on host servers, often employing agents for the backup process. Traditional backups might involve copying data from various sources, not just host servers, and may not utilize agents.
Q2. Are host-based backups suitable for all types of businesses?
While host-based backups offer advanced features beneficial for many businesses, their suitability depends on the specific data recovery needs and IT infrastructure of a company.
Q3. How often should I schedule my host-based backups?
The frequency depends on the volume of data changes and the critical nature of the data. For vital systems, near-continuous backups might be preferred, while less critical systems might only require daily or weekly backups.