


How to Migrate from HTTP to HTTPS: A Complete Guide
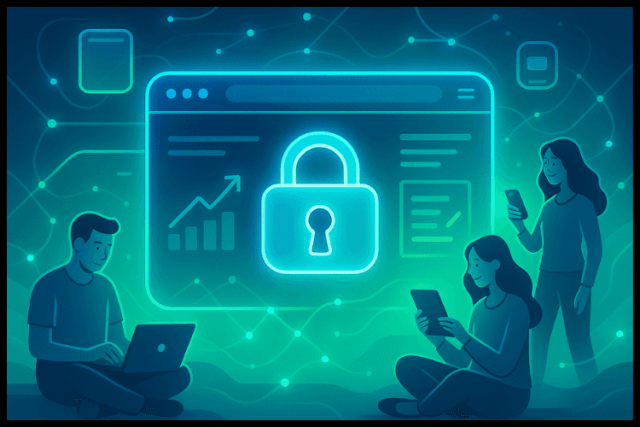
The internet today is built on trust and security. When visitors land on your website, they want to know their data is safe. This is where HTTPS comes in. HTTP to HTTPS migration is no longer just a choice; it’s a must for every business, blogger, or online store that wants to build credibility, attract customers, and perform better in search results.
In this guide, we explain what HTTPS is, why it’s important, and how to move your website from HTTP to HTTPS in a simple, easy-to-understand way, without diving into technical jargon.
What is HTTPS and Why is it Important?
The safe variant of HTTP is called HTTPS (HyperText Transfer Protocol safe). The main difference is that it encrypts communication between your website and its visitors. This means that passwords, payment details, and any personal information stay safe.
Some major benefits of moving to HTTPS are:
Trust and credibility – Websites with HTTPS show a padlock in the browser, giving visitors peace of mind.
Better Google rankings – Google uses HTTPS as a ranking factor.
Improved user experience – Visitors won’t see “Not Secure” warnings on your site.
Future-proofing – More apps, browsers, and devices are dropping support for insecure websites.
Step 1: Get an SSL Certificate
To switch to HTTPS, you need an SSL certificate. Consider it to be your website’s digital passport. It proves your site is genuine and allows information to be safely encrypted.
There are different types of SSL certificates:
- Domain validation SSL certificates – best for small blogs or personal sites, business clients & personal clients.
- Business validation SSL certificates – Show that your company is verified and trustworthy. Recommended for shopping cart websites.
Your choice depends on your website type. For example, an e-commerce store should use a higher-level certificate to boost customer confidence.
🔒 Secure Your Website Today with Ideastack SSL!
Protect your visitors, boost trust, and improve your Google rankings. Get Your SSL Certificate Now 🚀
Step 2: Install the SSL Certificate with Your Hosting Provider
Once you buy SSL certificate, your hosting company usually helps you install it. This step is important because once installed, your website officially supports secure connections.
Step 3: Make Sure All Pages Use HTTPS
After your certificate is active, your site must fully switch over to HTTPS. That means:
- Every page, image, or video should load securely.
- Links on your site should point to the secure version (with https:// at the start).
- Forms and checkout pages especially, should always run on HTTPS.
If not updated, visitors may still see “mixed content” warnings.
Step 4: Redirect Visitors from HTTP to HTTPS
When someone types your web address with http://, they should automatically be redirected to the https:// version. This ensures:
- Visitors always land on the secure version.
- Search engines know your HTTPS site is the “real” version.
- You don’t lose traffic or search rankings.
Most hosting companies set this up for you when you enable HTTPS.
Step 5: Update Your Website Settings
Depending on the platform you use (WordPress, Joomla, Shopify, etc.), update your site settings so the main web address starts with HTTPS. This helps your website stay consistent and prevents errors.
Step 6: Update Tools, Services, and Integrations
Any services linked to your website also need the secure version. These may include:
- Google Analytics and Search Console – So they track your secure site correctly.
- Email marketing tools – So your campaigns point to the right links.
- Payment gateways and plugins – To ensure safe transactions.
Step 7: Submit Your Secure Site to Google
Once everything is set, let Google know about your new secure site. Update your sitemap and submit it again in Google Search Console. This helps search engines index your pages correctly and faster.
Step 8: Check for Any Issues
After migration, it’s important to double-check that everything is running smoothly. Test your website to ensure:
- The padlock icon shows in the browser.
- All pages load quickly and securely.
- No “Not Secure” or “Mixed Content” alerts are present.
If you notice any issues, contact your hosting provider for help.

Why Moving to HTTPS is Worth It
The move to HTTPS may feel like extra work at first, but the rewards are long-term:
- Your visitors trust you more.
- Google rewards you with better visibility.
- Your website becomes future-ready and safe.
A secure website isn’t just about protecting your data; it’s about building lasting trust with your audience.
Conclusion
Migrating from HTTP to HTTPS is one of the smartest moves you can make for your website today. It protects your visitors, improves your credibility, and gives your site an SEO advantage. With the right SSL certificate, a little setup, and ongoing monitoring, the process is smooth and well worth it.
Whether you need DV, BV, or EV SSL, Ideastack has you covered. Choose the SSL certificate plan that fits your website and secure it today.
Frequently Asked Questions
Q1. Why should I migrate my website to HTTPS?
Migrating to HTTPS improves security, builds visitor trust, and helps boost your website’s ranking on Google since it’s a recognized ranking signal.
Q2. Do I need to buy an SSL certificate to enable HTTPS?
Yes. An SSL certificate is required to enable HTTPS. Some hosting providers offer free SSL certificates, while businesses may choose paid options for stronger trust.
Q3. Will migrating to HTTPS affect my SEO?
Yes, but in a positive way. When done correctly with proper redirects, HTTPS improves SEO rankings, prevents “Not Secure” warnings, and maintains link equity.


