


How to install TOMCAT on server by using panel CWP
Summary
Article Name
How To Install TOMCAT On Server By Using Panel CWP?
Description
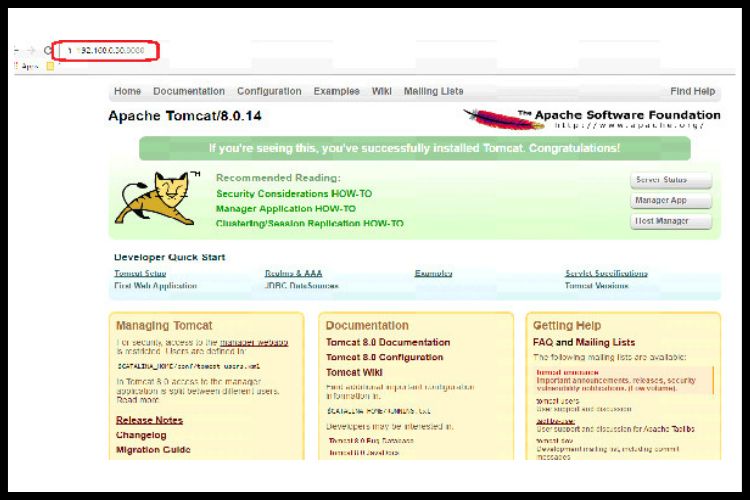
Apache Tomcat is pivotal software in the world of Java-based web applications. Apache Tomcat is an open-source software that implements Java Servlet, JavaServer Pages, Java Expression Language, and Java WebSocket technologies These specifications are fostered under the stewardship of the Java Community Process.
Author
Iram
Publisher Name
Ideastack
Publisher Logo

te11ur
You are expected to get an error 404 File Not Found , as you have yet to write the server-side program. The next step is to write a Java servlet, which responses to the client’s request by querying the database and returns the query results.